LibreOffice

User Data

LibreOffice has an feature that allows a user to store some details on their company, for example. This data can then be, retrieved and used in documents.

Tools (menu) —> Options

Tools options

Brings up the following, I have entered some made up data for this tutorial

User Data 2

Creative Commons Licence
This work is licensed under a Creative Commons Attribution-ShareAlike 4.0 International License.

Spelling and Grammar

It is important to check your document for errors.

The spell check tool allows you to do this easily.

Tools —> Spelling or press F7

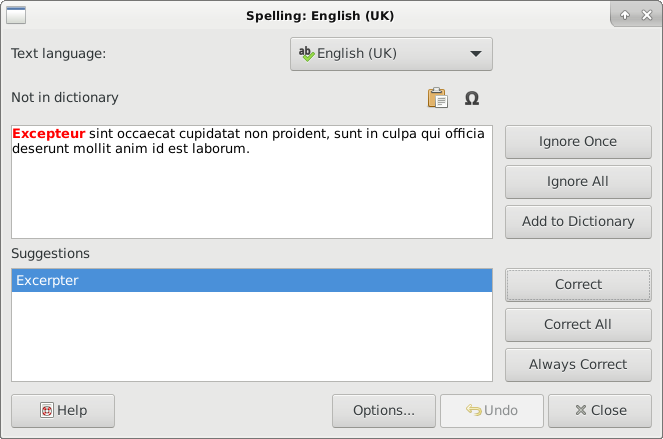
Spelling

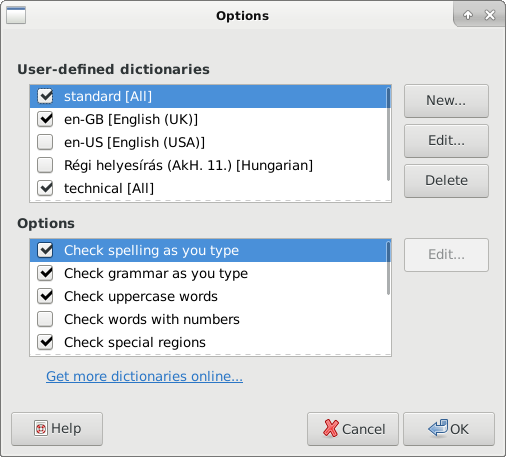
You can also set other options

Spelling Options

It is usually a good idea to click at the top of the document before running a spell check, that way the entire document can be checked in one go. You can:

  • Correct a misspelt word
  • Correct Grammar
  • Add new words to the dictionary.

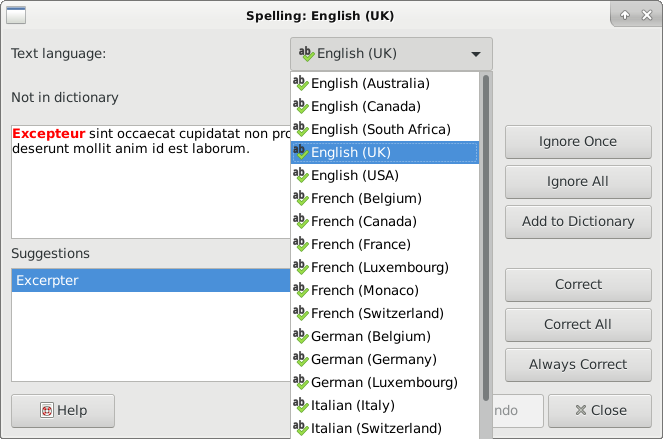
If you need to change the language LibreOffice is using then you can use the pull down menu to choose a different language.

Spelling Languages

Creative Commons Licence
This work is licensed under a Creative Commons Attribution-ShareAlike 4.0 International License.

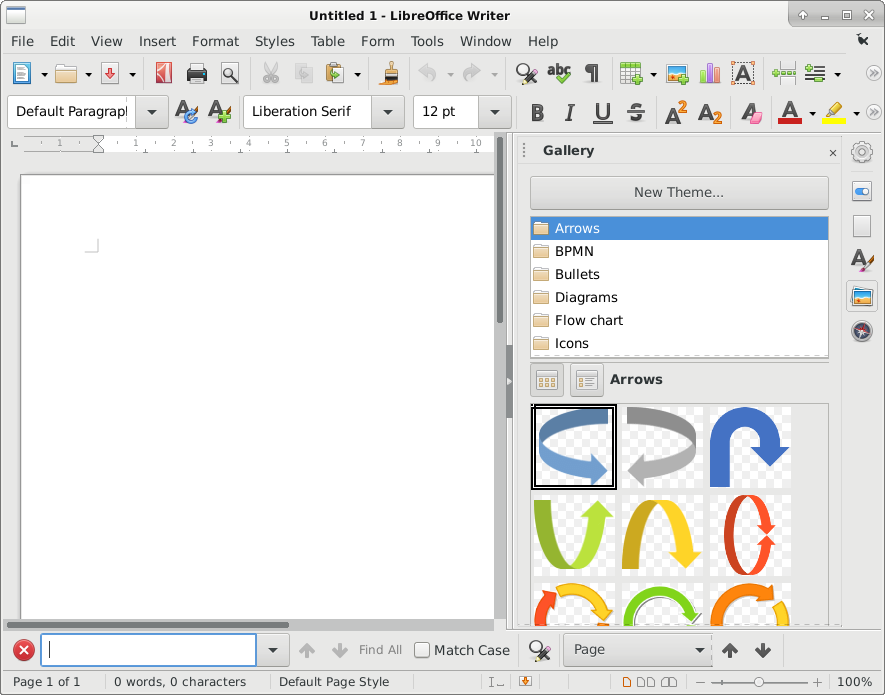
Page Zoom

Sometimes you may find the text on the screen is too small to read or perhaps you want to check a image for example.

You can use the zoom tool, found in the bottom right of the application to make the page bigger or smaller.

Page Zoom Location

Move the slider left <–> right to zoom out and zoom in.

Zoom In Tool

Video demonstration

Creative Commons Licence
This work is licensed under a Creative Commons Attribution-ShareAlike 4.0 International License.

Tables

How to add tables to LibreOffice Writer 7.x

Assets folder

https://salsa.debian.org/zleap-guest/screenshots/-/tree/master/libreoffice7/writer/Tables

  • A table is used to present information.
  • Tables are made up of
    • Horizontal Rows
    • Vertical Columns
    • Cells that form the Rows / Columns
  • Can be simple, single colour or more complex with more than one colour

There are several ways to insert a table

Icon

Clicking this leads to :-

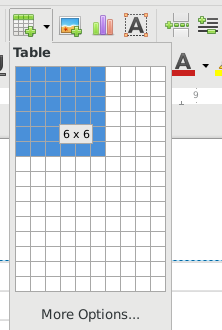
Quick Table

Where you can drag to create the required table size, clicking more options leads to the Table options box below.

Or Click

Table menu —> Insert table which leads to:-

Table Options box

Insert Table dialogue

Select the options you would like, then click insert.

Your table will then appear on the page.

Selecting a cell will also display the icon menu at the bottom of your document, this gives quicker access to options.

Table Icon Bar

Once you have added a table you will find all the rows, columns are a uniform size.

You may want to split cells up, to do this you can right click and select split cells
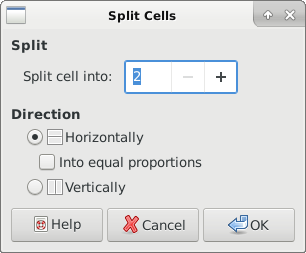
split

Cells can be split Horizontally or vertically

In a similar way we can right click and merge two or more cells together.

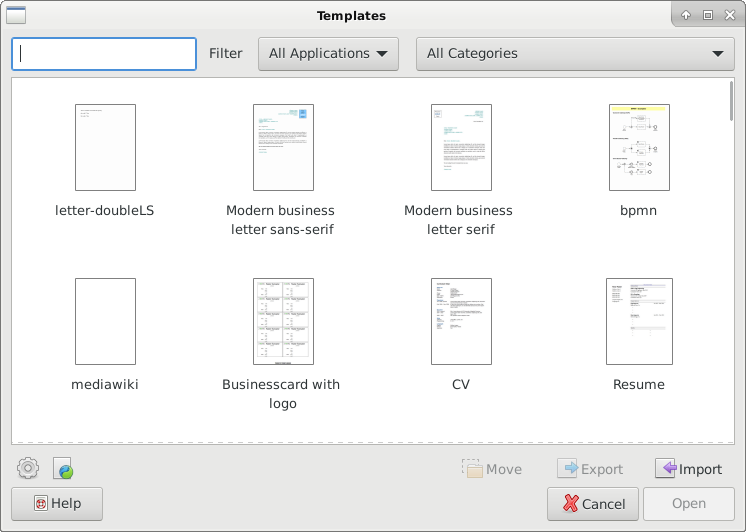
If we didn't set any style options from the Insert table dialogue, this can be done with right click —> style
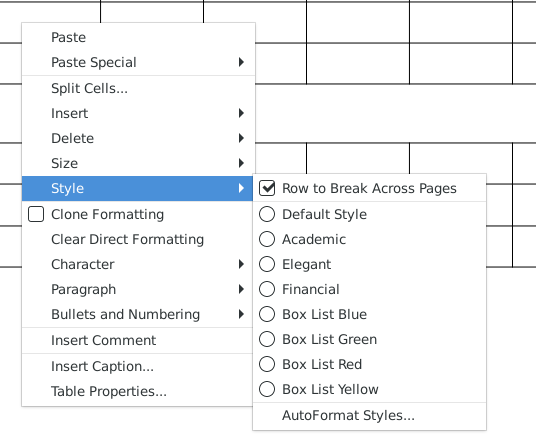
style

We can do the change the size with right click —> size

size

Where you can change row height / width.

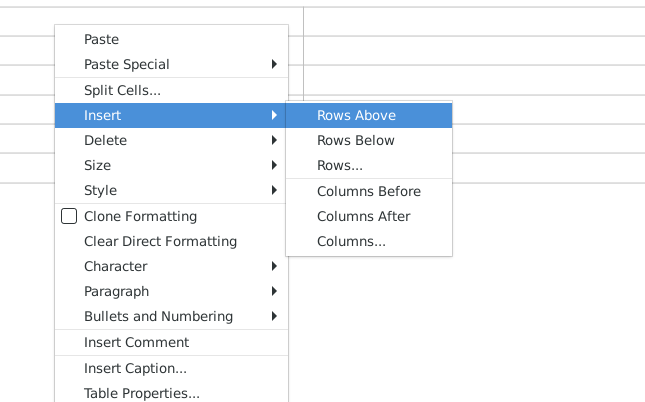
Add another single row or column, before or after the selected row or column.
Multi

or add more than one

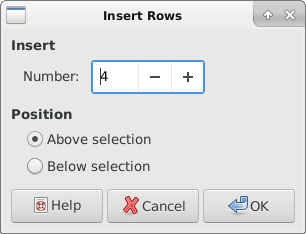
You can add more rows or columns with the right click menu

By selecting rows / columns from the right click menu

columns

rows

All these options are also available on the icon bar at the bottom of your document

Creative Commons Licence
This work is licensed under a Creative Commons Attribution-ShareAlike 4.0 International License
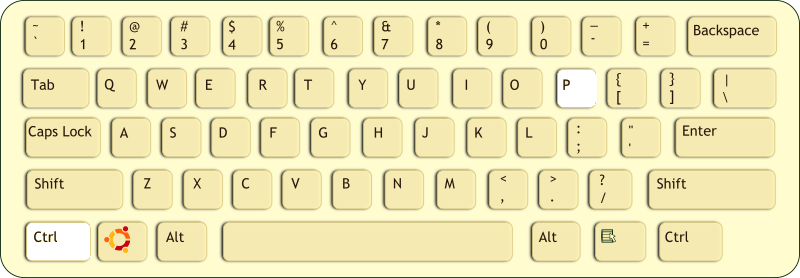
Keyboard Shortcuts

Exit LibreOffice

CTRL+Q

Quit

New Text Document

CTRL+N

New Document

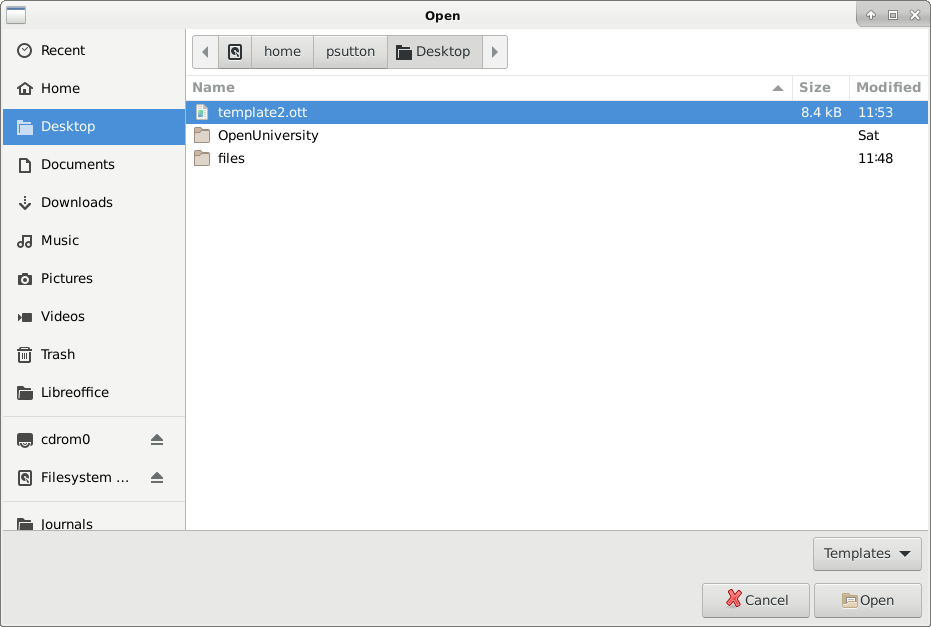
Open Document

CTRL-O

Open Document

Save Document

CTRL+S

Save

SaveAs

CTRL+SHFT+S

SaveAs

PRINT PREVIEW

CTRL+SHIFT+O

Print Preview

PRINT

CTRL+P

Print Document

CUT / COPY / PASTE CTRL+X CTRL+C CTRL+V

CutCopyPaste

Graphics Modified by Paul Sutton

Original graphic here

Origkeyboard Graphic Source: Open Clipart Created by: rockraikar

Creative Commons Licence
This work is licensed under a Creative Commons Attribution-ShareAlike 4.0 International License

Image captions

It is usually a good idea, or essential, when inserting an image to have some sort of description as to what the image is. This is useful as in a report you may want to include a list of figures at the end of the document.

Once you have inserted an image, you right click and go to insert caption.

Insert caption

Enter the caption in the box, press Ok and you should see something like this:

Inserted caption

Creative Commons Licence
This work is licensed under a Creative Commons Attribution-ShareAlike 4.0 International License
Spacing

There are several ways to space text out on the page.

Line spacing can set, for example, to single (1), 1.5 and double (2) This is useful if you want to make text easier to read or perhaps add space for notes etc.

Sometimes this is a requirement for assignments, reports or documents.

linespacing

On a related note you can also add spaces between paragraphs.

paragraph spacing

It is a good idea to have this because it makes the document look nicer, plus using this tool, you retain the setting.

Finally, paragraphs can be indented, this is useful to add space on the left hand side of the document. The indent is inline with the tabs, which are set at the top of the document.

indent

Video

Creative Commons Licence
This work is licensed under a Creative Commons Attribution-ShareAlike 4.0 International License
LibreOffice 7 Writer 11

Watermarking

A watermark, is text or graphic on the page that appears behind the main text. They are used to for example display status of the document e.g Draft, Final, or copyright information for example CC-BY-SA CC-BY-NC for example.

To insert a watermark on the page.

Format menu —> Watermark

Brings up

watermark

Opacity is now light / Dark it will appear, the higher the percentage, the lighter it is. You can also change font, colour etc.

Watermark in page

If you need to edit, go to

Format menu —> Watermark and edit to suit.

Enter the details Creative Commons Licence
This work is licensed under a Creative Commons Attribution-ShareAlike 4.0 International License
LibreOffice 7 Writer 10

Printing

Once you have created a document, you can either send via e-mail or print the document for display, if a poster, or handing out if a flyer for example.

Printing generally has two parts.

  1. Print preview, as suggested displays a preview of what your page will look like. You can check you are happy with everything before printing.

PrintIcons

Pressing the print preview icon on the right will give you

print preview

You can check you are happy with the layout before pressing print, or click Close Preview

PrintClosePreview

Pressing Close preview will take you back to your document.

  1. Printing

Printing

Pressing the print icon on the left will bring up the printer dialogue box.

Print Dialogue

For example; Which pages to print or all pages, order, (reverse printing will print first page last, saving having to re-order manually)

From here you can select how you want to print your document. Clicking more gives you some more options:

PrintMoreOptions

This is handy if your printer supports duplex, print double sided to save paper.

Clicking on Properties —> Device Tab, gives you the option to print in Colour or Black and White, and select print quality, which saves on ink / toner.

Properties Device

Properties —> Paper tab, allows you to set paper size.

Properties Paper

Creative Commons Licence
This work is licensed under a Creative Commons Attribution-ShareAlike 4.0 International License
LibreOffice 7 Writer 9

When making lists of information. Bullet points helps to make a list look more presentable:

There are two main types of list

  1. Numbered
  2. Each item is listed in order
  3. Numbers auto increment
  • Bullet (itemized)
  • Each item on its own line
    • Can be nested
  • Useful for important points
  • Can be mixed
    1. item 1
    2. item 2
  • can be customized

The tool bar icon for bullet points

bullet toolbar

bullet style

Numbered style

It is worth experimenting with the options:-

Indenting bullets

Lets say you have

  • item 1
  • item 2
  • item 3
  • item 4
  • item 5

You want to indent item 2 so it is a sub-item of item 1

  • item 1
    • item 2
  • item 3
  • item 4
  • item 5

Put the cursor before the first item text (item 2, in this case) and press tab.

If you then decide you no longer want item 2 to be indented, put the cursor before the item and press shift+tab

And you will go back to your original list format again.

  • item 1
  • item 2
  • item 3
  • item 4
  • item 5

Creative Commons Licence
This work is licensed under a Creative Commons Attribution-ShareAlike 4.0 International License.