view
LibreOffice Documentation – 14/4/2022
Documentation update(s)
LibreOffice 7.3 guides (Published)
- Writer 7.3
- Getting Started 7.3
- Custom shape tutorial 7
PUBLISHED 7.2 All guides now fully published
- Getting Started 7.2
- Writer 7.2
- Calc 7.2
- Impress 7.2
- Draw 7.2
- Math 7.2
- Base 7.2
REFERENCES
1 LibreOffice 2 LibreOffice Bookshelf 2a LibreOffice Documentation * LibreOffice shortcut keys 3 Free Software Foundation 4 Free Software Foundation Europe 5 LibreOffice Conference 6 7.2 blog documentation announcement 7. Udemy LibreOffice Training
TAGS
#YearOfTheFediverse,#LibreOffice,#Office,#Writer,#Calc, #Draw,#GettingStarted,#Documentation


This work is licensed under a Creative Commons Attribution-ShareAlike 4.0 International License
view
LibreOffice 7.3

Version 7.3 of the Free, Libre, Open Source office suite is now available. You can read more about this here.
Documentation for 7.3 will be available shortly, in the meantime you can still download books for 7.1 & 7.2.
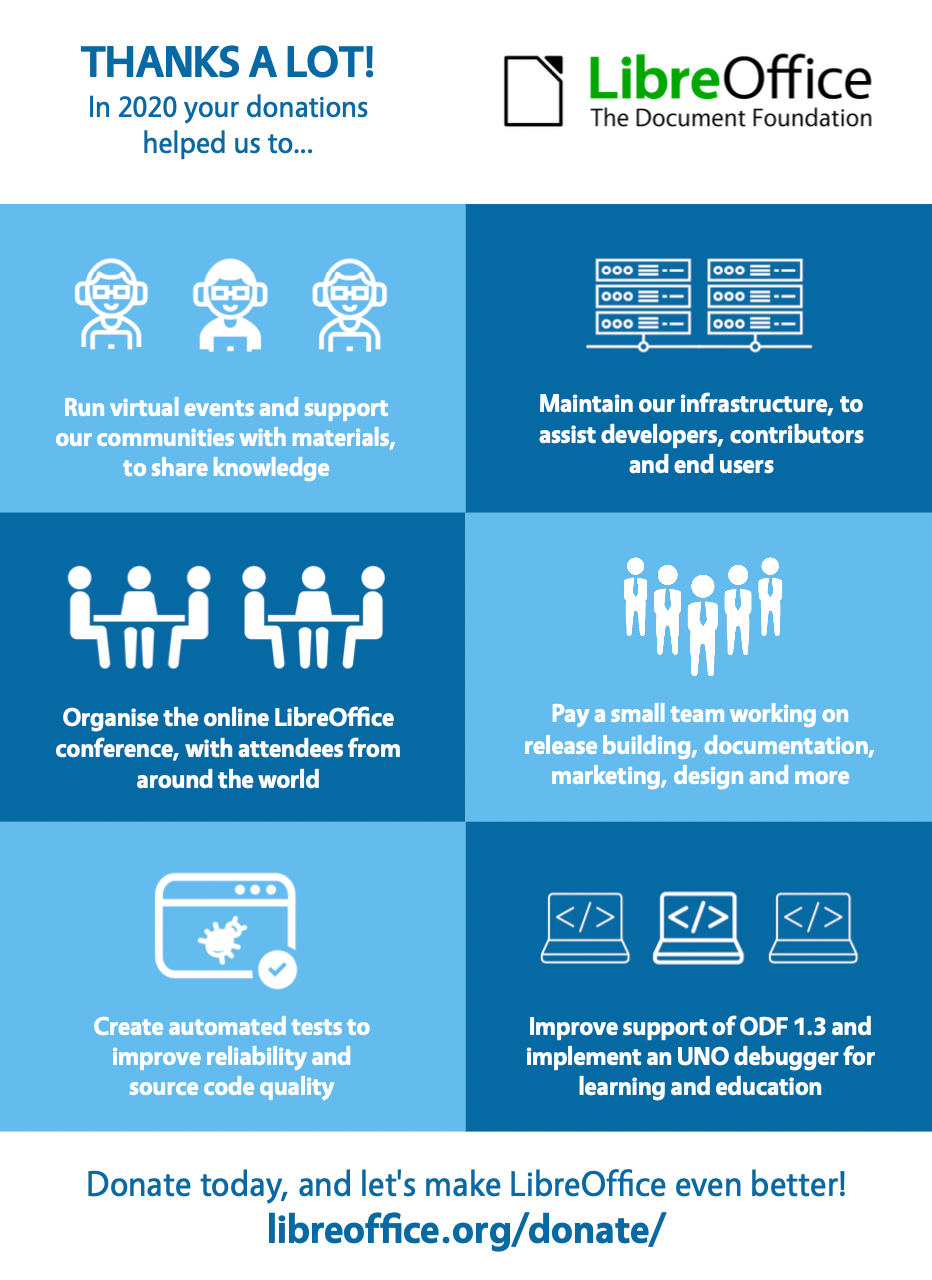
For those of you who dismiss LibreOffice. This is from the blog post.
LibreOffice offers the highest level of compatibility in the office suite market segment, starting with native support for the OpenDocument Format (ODF) – beating proprietary formats in the areas of security and robustness – to superior support for DOCX, XLSX and PPTX files. In addition, LibreOffice provides filters for a large number of legacy document formats, to return ownership and control to users.

Microsoft files are still based on the proprietary format deprecated by ISO in 2008, and not on the ISO approved standard, so they hide a large amount of artificial complexity. This causes handling issues with LibreOffice, which defaults to a true open standard format (the OpenDocument Format).
New Features Video
LO 7.2 install on Debian 11
*This worked for me, please use common sense and think before you do stuff, I am not responsible for damage to your system**
I have now downloaded and installed LibreOffice 7.2 on Debian 11.
- Goto https://www.libreoffice.org/
- Click Download Now
- For Debian 11, I selected the 7.2 deb file from the options
- LibreOffice7.2.5Linuxx86-64deb.tar.gz Save or move this to a sensible location, so maybe create a sub folder in downloads called Libreoffice
- Extract the gz file – this should be unzip *.gz
- Extract the tar file this should be tar -xf *.tar
- cd in to LibreOffice7.2.5.2Linuxx86-64deb 7a type ls to list files (for me I had 42 deb files)
- Goto a terminal
- Switch to root, with su - and enter password
- You will probably need to check working directory pwd
- cd to where your deb files are
- dpkg -i *.deb
- This should install everything
- You will find Libreoffice 7.2 on the menu (I am using xfce)
As always Your Mileage May Vary
Note, the LibreOffice 7.2 menu entries will be BELOW those for the previos install, my video here illustrates how to use menu editor to move them above the previous version.
Links
- LibreOffice
- Open Source Hardware Association
- Free software foundation
- Free Software Foundation of India
- Free Software Foundation of Latin America
- Free Software Foundation Europe
- Free Computing Movement
Links
- Paignton Library STEM Group
- Discourse Discussion
- Tuxiversity
- Science Forums
- Qoto Mastodon
- Social coding
- Science Daily
TAGS
#YearOfTheFediverse,#FediverseRising,#LibreOffice,#Release

This work is licensed under a Creative Commons Attribution-ShareAlike 4.0 International License
view
LibreOffice Documentation 31/12/2021
Documentation update(s)
LibreOffice 7.2 guides
PUBLISHED 7.2
- Getting Started 7.2
- Writer 7.2
- Calc 7.2
- Impress 7.2
- Draw 7.2
- Math 7.2
- Base 7.2
REFERENCES
1 LibreOffice 2 LibreOffice Bookshelf 2a LibreOffice Documentation * LibreOffice shortcut keys 3 Free Software Foundation 4 Free Software Foundation Europe 5 LibreOffice Conference 6 7.2 blog documentation announcement TAGS
#YearOfTheFediverse,#LibreOffice,#Office,#Writer,#Calc, #Draw,#GettingStarted,#Documentation
This work is licensed under a Creative Commons Attribution-ShareAlike 4.0 International License
view
LibreOffice Documentation April 2021
![]()
LibreOffice 7.0 / 7.x [1] documentation [2] is progressing nicely. Guides for :
Updated 12/04/2021 – Writer 7.1 guide is now available from the LibreOffice documentation page.
- Getting Started 7.0
- Impress 7.0
- Calc 7.0
- Math 7.0
- Writer 7.1
REFERENCES
1 LibreOffice 2 LibreOffice Documentation 3 Free Software Foundation 4 Free Software Foundation Europe
TAGS
#YearOfTheFediverse,#LibreOffice,#Office,#Writer,#Calc,#Base,#Draw,#Math,#GettingStarted
This work is licensed under a Creative Commons Attribution-ShareAlike 4.0 International License
view
Background image
LibreOffice 7
To add a background image to your document
- Open Up LibreOffice Writer
- Click FORMAT (menu) —> Page Style
- Click Area (Tab)

- Select Bitmap (button)
- Select add / import
- Choose and image — > Click OK

- Under style – Select Custom (default is centre)
- Now set the size (Height x Width) e.g 5cm

Now click Transparancy (Tab) Transparency Radio Button

If you set to 95% then the image will be visible but very light
Click Ok
Done
To Remove the image click NONE on the Area Tab
Video
This work is licensed under a Creative Commons Attribution-ShareAlike 4.0 International License.
view
Toolbars
LibreOffice now has several options, when it comes to viewing the menus and options to undertake various tasks while working.

You can change the way the menu looks from the User Interface option.

STANDARD TOOL BAR

SINGLE TOOL BAR

SIDEBAR

TABBED

TABBED COMPACT

GROUPED BAR COMPACT

CONTEXTUAL SINGLE

This work is licensed under a Creative Commons Attribution-ShareAlike 4.0 International License
view
Calc-Curriculum

I am presenting here a series of videos to undertake tasks in the LibreOffice spreadsheet module : Calc.
- LibreOffice 7 Calc Manual is now available to download.
Note this is WORK IN PROGRESS. Videos are hosted on Peertube. If you want something better / quicker PAY ME.
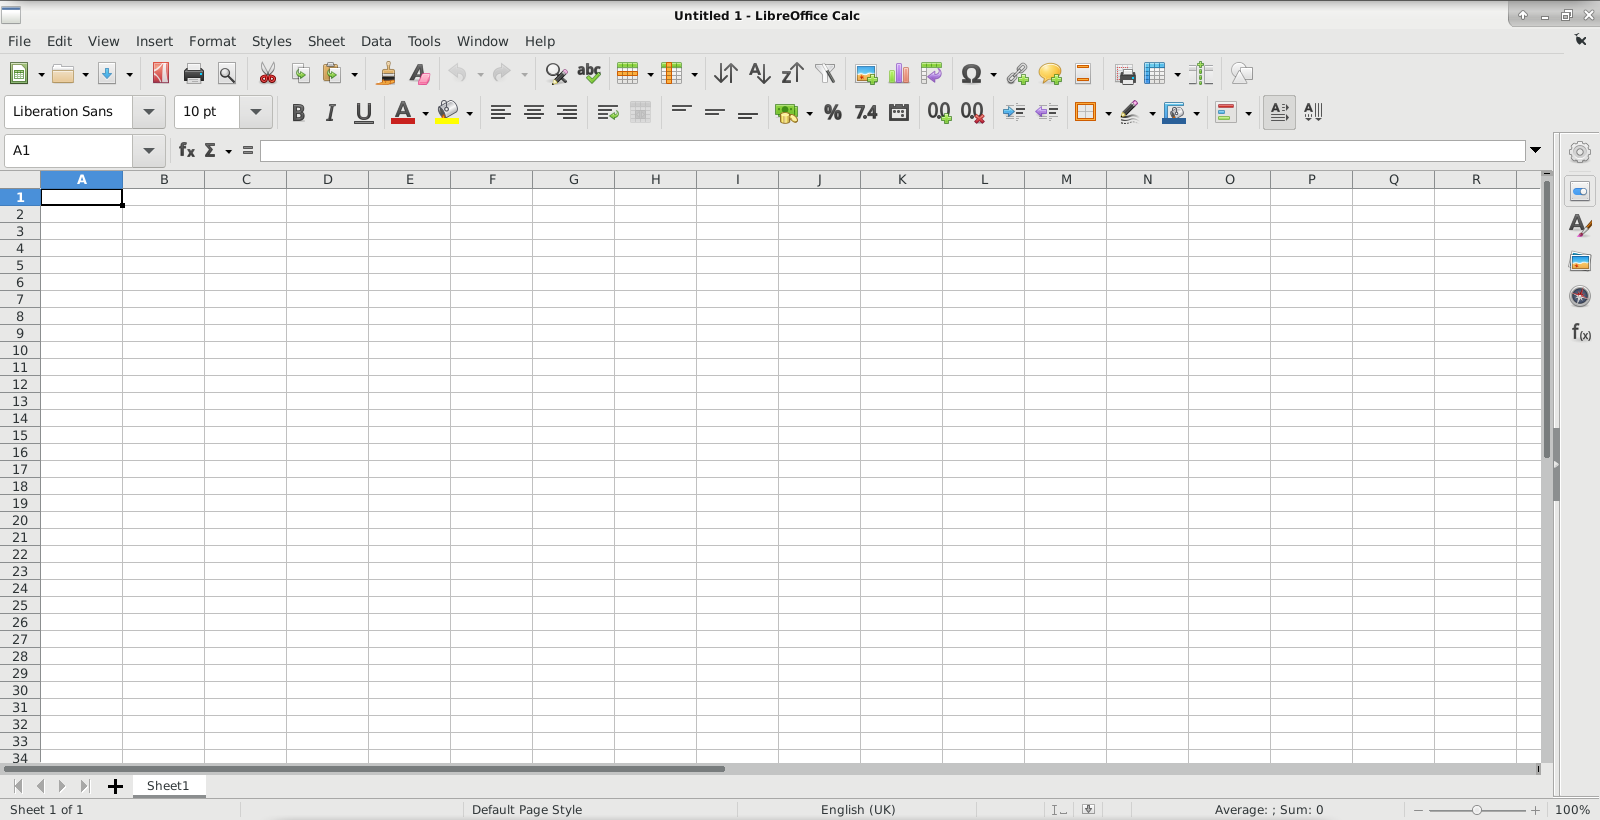
Starting calc – Choose Spreadsheet from the main screen
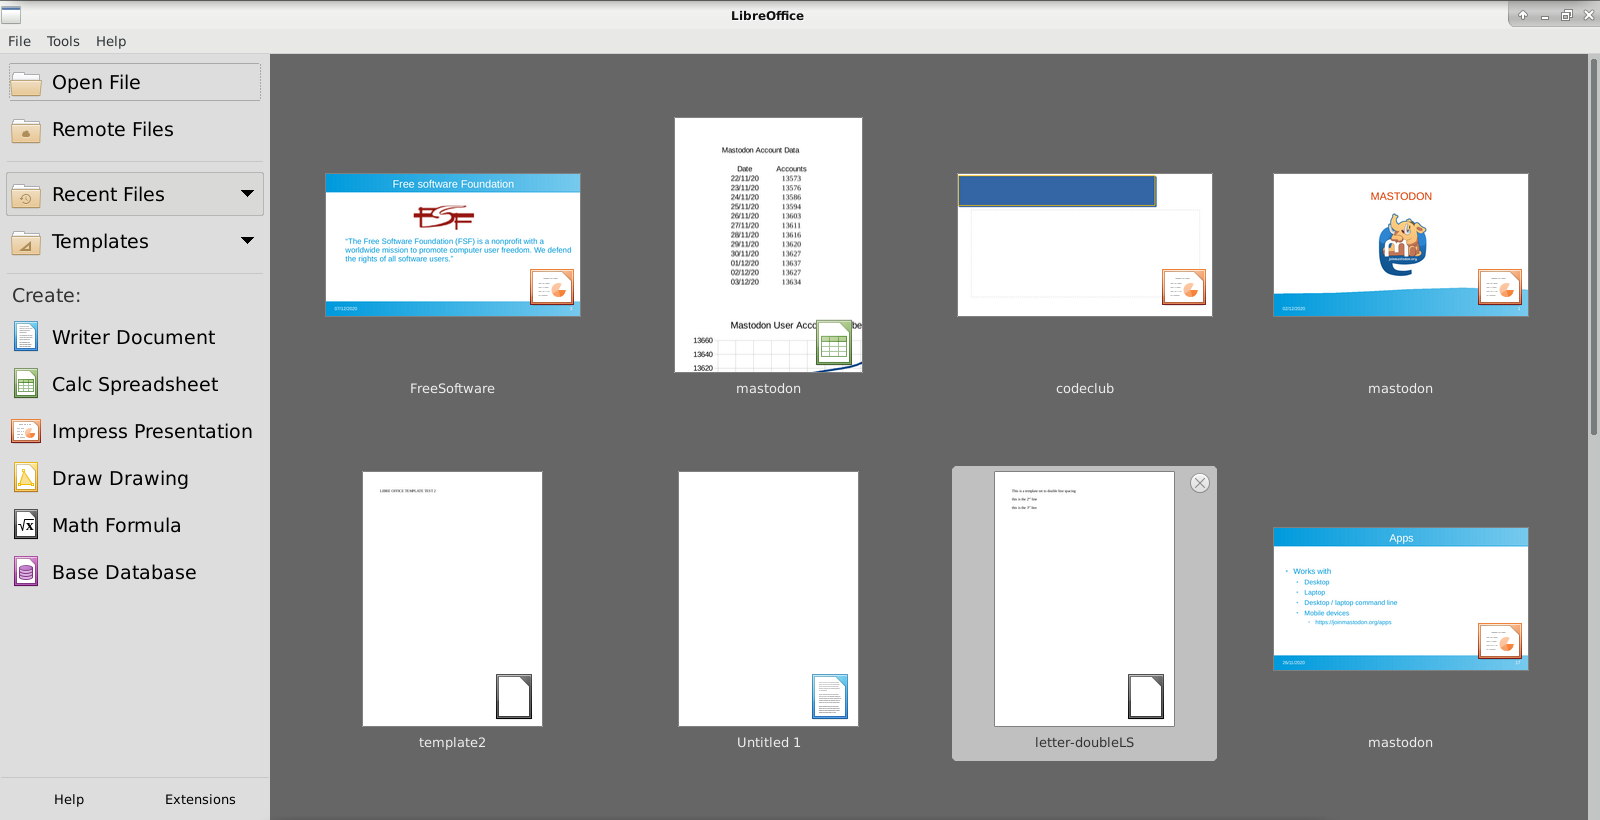
You will then be presented with :-
Save files
Save As Open Document format (recommended)

Video
Saving as Office 365

Video
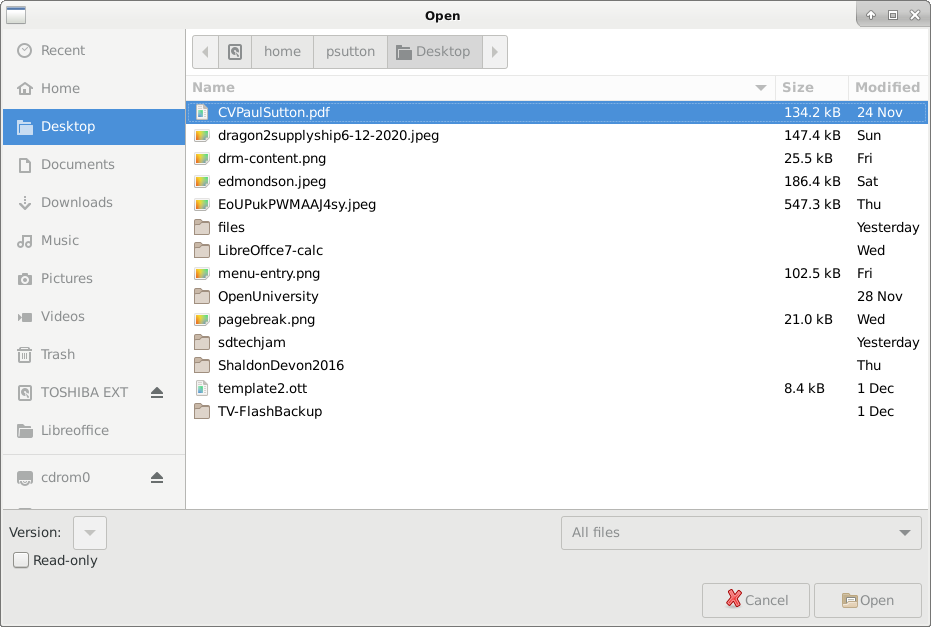
Open Files
Choose File —> Open from the menu
Basic Operations
Charts * Pie Chart * Simple Chart 1 * Simple Chart 2
Print and page operations
- Set Print Ranges
- Print range and cell column / row headers
- Column Row Headers
- Display Grid
- Sheet Header
This work is licensed under a Creative Commons Attribution-ShareAlike 4.0 International License.
view
Gallery part 3
Inserting gallery images
- Image Gallery
Insert Menu —> Media —> Gallery
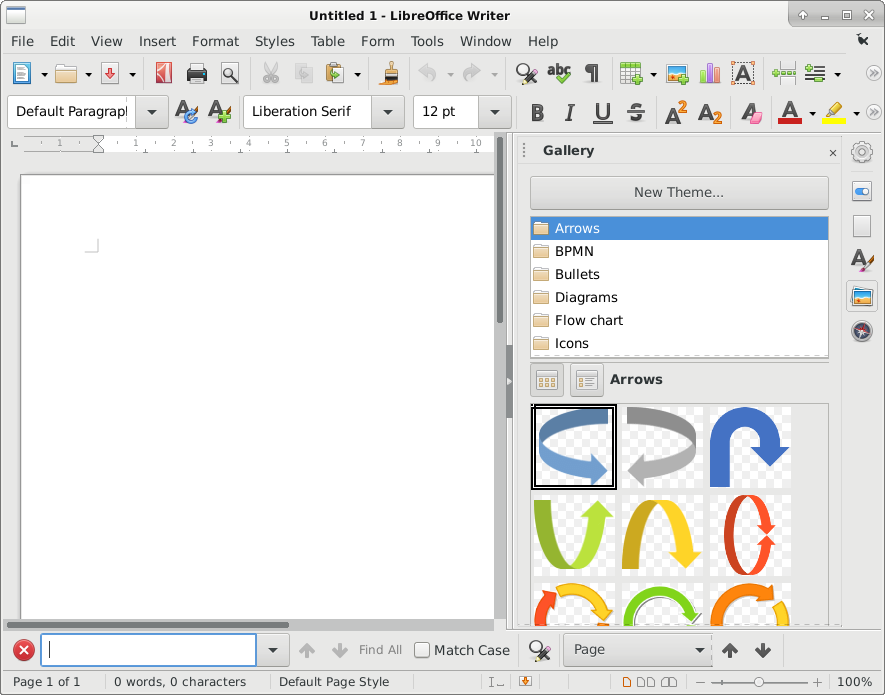
Find the image you would like, drag to your page, you can then resize to suit, with the grab handles.
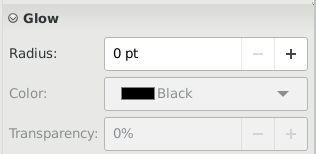
This allows you to set a glow effect around your image. This can make it stand out for example.
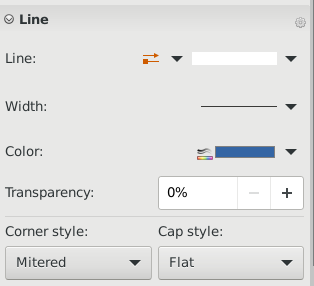
Here you can set various line properties.

Allows you to fine tune how big the image is, rotation and other properties

Sets other properties such as radius of the edge, to make it smoother for example.
For a deeper explanation of these tools please see the documentation. Or perhaps consider getting involved with the project so the team(s) can improve on this. There is a lot more work to do, and only a small team doing this.
This work is licensed under a Creative Commons Attribution-ShareAlike 4.0 International License
view
Gallery part 2
Manipulating your gallery image
- Image Gallery
Insert Menu —> Media —> Gallery
The vertical option bar on the right displays:-

The options here are (top to bottom)
- Sidebar Settings
- Properties
- Page
- Styles
- Gallery
- Navigator
This section will concentrate on Properties
The first option Area will display

Video
This work is licensed under a Creative Commons Attribution-ShareAlike 4.0 International License